Blog

  • The Secret Stain-Removing Hacks My Family’s Decades-Old Dry Cleaning Business Taught Me

    The Secret Stain-Removing Hacks My Family’s Decades-Old Dry Cleaning Business Taught Me

    If you grew up around the laundry business, you learn pretty quickly that not all stains are created equal. Growing up, my mom and dad spent decades running a local dry cleaning shop, and later, I learned the true ropes working alongside my father-in-law, who has spent his entire life mastering the art of textile care.

    Even today, watching him rescue a garment that a customer thought was completely ruined is nothing short of magic. People always ask, “What’s the secret? What expensive chemical do professionals use?”

    The truth? Most of the time, it’s not some top-secret industrial solvent. It’s about chemistry, timing, and knowing the fabric.

    Today, I’m pulling back the curtain and sharing a few practical, battle-tested tricks passed down from my father-in-law to help you tackle the most stubborn stains right at home—without ruining your favorite clothes.

    1. The Golden Rule: Never Rub a Fresh Stain

    The biggest mistake people make the second a drop of coffee or wine hits their shirt is grabbing a napkin and scrubbing frantically.

    My father-in-law drilled this into me on day one: Blot, never rub. Rubbing forces the liquid deeper into the fibers and twists the threads, making the stain permanently set. Instead, take a clean white cloth or paper towel and gently press down to absorb as much excess liquid as possible.

    2. Oil and Grease: The Dish Soap Trick

    Got a grease spot from dinner on your favorite cotton shirt? Don’t throw it straight into the hot wash—heat will actually bake the oil into the fabric.

     The Pro Method: Skip the heavy-duty pre-treaters. Apply a single drop of blue dawn dish soap directly to the grease spot. Use your finger to gently work it into the fabric in a circular motion, let it sit for about 10 minutes, and then rinse with cold water before washing normally. Dish soap is formulated to cut through kitchen grease, and it works wonders on textile oils, too.

    3. Coffee and Tea: The Cold Water Secret

    When morning coffee spills on a crisp white shirt, instinct tells most people to run it under hot water. Big mistake.

     The Pro Method: Tannins in coffee and tea react poorly to heat. Always flush the stain from the back side using cold water to push the pigment out of the fibers rather than through them. Dab a mixture of equal parts white vinegar and cold water with a touch of mild detergent, let it sit for five minutes, and rinse.

    4. Ink and Ballpoint Marks: The Alcohol Rescue

    Kids with pens or an accidental pen leak in your pocket can feel like a disaster.

     The Pro Method: Lay a clean white towel underneath the stained fabric. Dip a cotton swab in regular rubbing alcohol (isopropyl alcohol) and dab gently at the outer edges of the ink mark, working your way inward so it doesn’t spread. You’ll actually watch the ink dissolve and transfer down into the towel beneath it.

    A Quick Word of Caution

    Before trying any home remedy on delicate fabrics like silk, wool, or rayon, always test a tiny hidden seam first. Sometimes, even the gentlest household solutions can react unpredictably with specialized dyes.

    Years in the family business taught me that clothes have a way of accumulating memories—and a few accidents along the way. But with the right technique, an accidental spill doesn’t have to mean the end of the road for your favorite garments.

    Have a stubborn stain you’ve been trying to get out? Drop a comment below, and I’ll tell you how the pros would handle it!

  • How to Fix a Garage Door That Reverses and Won’t Close All the Way

    How to Fix a Garage Door That Reverses and Won’t Close All the Way

    If your garage door opens smoothly but acts up when closing—sometimes reversing back up halfway or requiring you to hold down the wall button until it fully shuts—it can be extremely frustrating.

    This is a very common issue, and in most cases, you don’t need to call an expensive technician. Here is a simple step-by-step guide to diagnosing and fixing the problem in under 15 minutes.


    Why Does This Happen?

    Modern garage doors are equipped with a mandatory safety reversal system. If the system detects an obstruction, misalignment, or sensor failure, it automatically reverses the door to prevent accidents. When your door reverses for no apparent reason, it usually comes down to one of three common culprits.


    Step 1: Clean and Align the Safety Sensors (The Photo-Eye)

    The most frequent cause of a garage door reversing midway is dirty or misaligned safety sensors (the small electronic “eyes” located near the bottom of the tracks on both sides).

    • Check the Indicator Lights: Look at the small LED lights on both sensors. If a light is blinking, flickering, or turned off, the sensors are misaligned or blocked.
    • Wipe the Lenses: Dust, spider webs, or mud often accumulate on the lenses. Gently wipe them clean with a soft microfiber cloth.
    • Adjust the Alignment: If one sensor was bumped, gently bend or adjust its bracket until both sensor lights turn solid green or red, indicating a clear, unbroken invisible beam between them.

    Step 2: Clear Track Obstructions and Lubricate Moving Parts


    Sometimes physical friction tricks the safety mechanism into thinking something is blocking the door.

    • Inspect the Tracks: Check the metal tracks for accumulated dirt, debris, or small pebbles. Wipe them down thoroughly.
    • Lubricate Rollers and Hinges: Apply a silicone-based or specialized garage door lubricant to the rollers, hinges, and springs. Avoid heavy grease, as it attracts dust and grime.

    Step 3: Adjust the Close-Limit Switch

    If your garage door touches the ground and then immediately reverses back up, your Close-Limit Switch (found on the side or back of your garage door opener motor unit) needs a minor adjustment.

    • Locate the adjustment screws on the motor unit (usually labeled Up and Down or with arrows).
    • Using a screwdriver, turn the Down limit screw very slightly (about a quarter to a half turn) in the direction that decreases the travel distance.
    • Test-close the door. If it still bounces back, adjust it slightly more until the door closes firmly and stops without reversing.

    Wrapping Up

    If your garage door requires you to hold down the wall button to close, it is almost always a safety sensor issue (Step 1). If it reverses halfway down on its own, cleaning the tracks or tweaking the limit switch usually fixes it right up.

    Take a few minutes to check these components before spending money on a professional repair service!

    Disclosure: This post may contain affiliate links. If you use these links to buy something we may earn a commission at no additional cost to you.

  • NordVPN Review (2026): Is It Still the Best Choice for Speed and Security?

    NordVPN Review (2026): Is It Still the Best Choice for Speed and Security?

    In 2026, countless VPN services are fiercely competing, boasting AI-driven optimization and ultra-fast servers. However, the industry standard and the number one recommendation by security experts remains NordVPN.

    Does it still live up to its reputation this year? As an actual user who has been running a 2-year subscription plan firsthand, I wanted to take a close look at the latest updates in speed, security features, and everyday usability based on genuine, real-world experience.


    1. Personal Experience & Evolved App Interface

    One of the main reasons NordVPN has stayed at the top for so long is its intuitive UI. The 2026 versions of the mobile and desktop apps have significantly improved the user experience (UX) with a cleaner design and optimized dark mode.

    NordVPN's easy-to-read mobile app UI
    Caption: NordVPN’s easy-to-read mobile app UI

    From a daily user’s perspective, turning the VPN on and off is remarkably seamless and stable. The Quick Connect feature calculates the fastest and most stable server in your current location down to the millisecond (ms) and connects you instantly. While you might occasionally notice a very minor dip in speed depending on network congestion, it is never disruptive enough to cause real inconvenience in daily tasks. You can enjoy top-tier security right away without needing to configure complex settings.


    2. Speed – Overwhelming 10Gbps Performance

    The idea that turning on a VPN heavily drags down your internet speed is largely a thing of the past. NordVPN has massively upgraded its server infrastructure to deliver uncompromised performance.

    • Full 10Gbps Server Network: Servers in major countries globally have been upgraded to 10Gbps bandwidth. There are no bottlenecks even during 4K/8K streaming, real-time high-end gaming, or large file downloads.
    • NordLynx Protocol: Built around the lightweight and lightning-fast WireGuard protocol, the proprietary NordLynx maintains a performance level that outpaces competitors in both connection speed and stability.

    Key Takeaway: While streaming platforms’ VPN-blocking technologies have become more sophisticated, NordVPN’s Obfuscated servers remain the most reliable way to bypass regional restrictions on global OTT platforms like Netflix and Hulu without triggering annoying proxy errors.


    3. Security – Evolution into a Comprehensive Security Suite

    The 2026 version of NordVPN has evolved far beyond a simple IP bypass tool into a powerful, comprehensive security suite designed to protect your privacy across all connected devices.

    The principle behind a VPN's powerful data encryption
    Caption: The principle behind a VPN’s powerful data encryption

    • Threat Protection Pro: This works even when you are not actively connected to a VPN server. It blocks malware downloads, stops you from landing on phishing sites, and filters out annoying web trackers and intrusive ads in real time.
    • 100% RAM-Only Servers: NordVPN has built an infrastructure that completely eliminates hard drives. Every time a server is rebooted, all data is physically and entirely wiped, guaranteeing a flawless no-logs policy.
    • Meshnet: No matter where you are in the world, this feature links your devices together into a single, secure virtual LAN network. It is incredibly useful for secure file sharing while working remotely or setting up a private gaming server with friends.

    4. 2026 Final Verdict

    CategoryRatingSummary
    Speed & Performance⭐⭐⭐⭐⭐The perfect combination of NordLynx and 10Gbps servers provides a smooth, lag-free experience.
    Security & Privacy⭐⭐⭐⭐⭐A proven no-logs policy backed by RAM-only servers and regular independent audits.
    Extra Features⭐⭐⭐⭐⭐Threat Protection and Meshnet add immense value beyond a standard VPN.
    Value for Money⭐⭐⭐⭐Monthly plans are a bit pricey, but grabbing a long-term (2-year) plan makes it totally worth the investment.

    In conclusion, NordVPN remains the absolute best choice in 2026.
    For users who refuse to compromise on either speed or security, and especially for those looking for a dependable tool backed by months of real-world use, this is the most definitive answer.

  • How to Fix “DNS Server Not Responding” in Windows 11 (Quick Fixes)

    How to Fix “DNS Server Not Responding” in Windows 11 (Quick Fixes)

    If your Windows 11 PC suddenly loses internet access and troubleshooting points to a “DNS Server Not Responding” error, it can be extremely frustrating. You can see the Wi-Fi or Ethernet connected, but web pages simply refuse to load.

    The good news is that this is usually a software or network configuration glitch that you can fix yourself in just a few minutes.

    In this guide, we will walk you through the most effective step-by-step methods to fix the DNS server error and get your connection running smoothly again.

    What Causes the “DNS Server Not Responding” Error?

    Your computer uses a DNS (Domain Name System) server to translate human-readable website names (like ⁠google.com⁠) into numerical IP addresses. When your PC cannot communicate with the DNS server, or the server fails to reply, you get this error.

    Common causes include:

     Corrupted local DNS cache

     Faulty network adapter drivers

     Incorrect IP or DNS settings

     Interference from third-party antivirus software or a misconfigured VPN

    Step 1: Restart Your Router and Modem

    Before diving into complex command-line fixes, always start with the basics. Network hardware often gets stuck and simply needs a fresh start.

    1. Unplug your router and modem from the power outlet.

    2. Wait for at least 30 seconds.

    3. Plug them back in and wait for the indicator lights to stabilize.

    4. Reconnect your Windows 11 PC to the network and check if the internet works.

    Step 2: Flush the DNS Cache

    Your computer stores a local history of website addresses in a DNS cache. If this cache becomes corrupted, it can block your connection. Clearing it forces your system to fetch fresh data.


    1. Press the Windows Key, type cmd, and select Run as administrator.

    2. Type the following command and press Enter:

    cmd

    ipconfig /flushdns

    3. You should see a success message: Successfully flushed the DNS Resolver Cache.

    4. Next, type this command to reset your IP configuration and press Enter:

    cmd

    ipconfig /renew

    Close the Command Prompt and check your browser.

    Step 3: Change Your DNS Server Address

    Sometimes, the default DNS server provided by your Internet Service Provider (ISP) goes down or runs too slow. Switching to a public, highly reliable DNS provider like Google or Cloudflare often solves the problem instantly.

    1. Press Windows Key + I to open Settings.

    2. Go to Network & internet > Wi-Fi (or Ethernet).

    3. Click on your active network connection properties.

    4. Look for DNS server assignment and click the Edit button.

    5. Change the setting from Automatic (DHCP) to Manual.

    6. Turn on IPv4 and enter the following reliable public DNS addresses:

     Preferred DNS (Cloudflare / Google): ⁠1.1.1.1⁠ (or ⁠8.8.8.8⁠)

     Alternate DNS (Cloudflare / Google): ⁠1.0.0.1⁠ (or ⁠8.8.4.4⁠)

    7. Click Save and test your connection.

    💡 Pro Tip: If you frequently experience unstable network throttling or security issues from your ISP, using a trusted, high-speed [Insert Affiliate Link Here: e.g., NordVPN with custom DNS options] can also help bypass local routing bottlenecks and secure your traffic.

    Step 4: Restart the DNS Client Service

    Windows runs a background service responsible for resolving and caching DNS names. If this service crashes, DNS queries will fail.


    1. Press Windows Key + R to open the Run dialog box.

    2. Type ⁠services.msc⁠ and press Enter.

    3. Scroll down the list and look for DNS Client.

    4. Right-click on it. (Note: If the options are greyed out, don’t panic—this is normal in newer Windows builds. If active, click Restart).

    5. Alternatively, you can restart it via Command Prompt as an administrator by running:

    cmd

    net stop dnscache
    net start dnscache

    Step 5: Update Network Adapter Drivers

    Outdated or corrupted network drivers are a common culprit for connection drops in Windows 11.

    1. Right-click the Start menu and select Device Manager.

    2. Expand the Network adapters section.

    3. Find your network card (e.g., Intel Wireless or Realtek PCIe Family Controller).

    4. Right-click it and select Update driver.

    5. Choose Search automatically for drivers.

    6. If Windows says the best driver is already installed, visit your motherboard or laptop manufacturer’s official support website to download the latest version.

    Summary

    By following these steps—from flushing your DNS cache to switching to Cloudflare or Google DNS—you should have successfully bypassed the “DNS Server Not Responding” error in Windows 11.

    If you continue to experience intermittent network drops or slow speeds, check your router firmware or consider testing your connection with a reliable virtual private network to rule out ISP-side throttling.

  • How to Unblock a Shower Drain: A 3-Step DIY Guide Before Calling a Plumber

    How to Unblock a Shower Drain: A 3-Step DIY Guide Before Calling a Plumber

    Standing in a pool of water halfway through your shower is frustrating. In most cases, the culprit is a tangled mess of hair and soap scum clogging the drain. While calling a professional is always an option, it comes with expensive service fees. Fortunately, you can easily tackle most shower drain clogs yourself in about 10 minutes using items you already have at home.

    Step 1: Physical Removal (The Quickest & Most Direct Method)

    The majority of shower drain clogs aren’t deep inside the plumbing—they are trapped right near the opening and strainer basket.

    What you need: Rubber gloves, an old toothbrush, a wire coat hanger (or a plastic hair snake tool).

    How to do it:

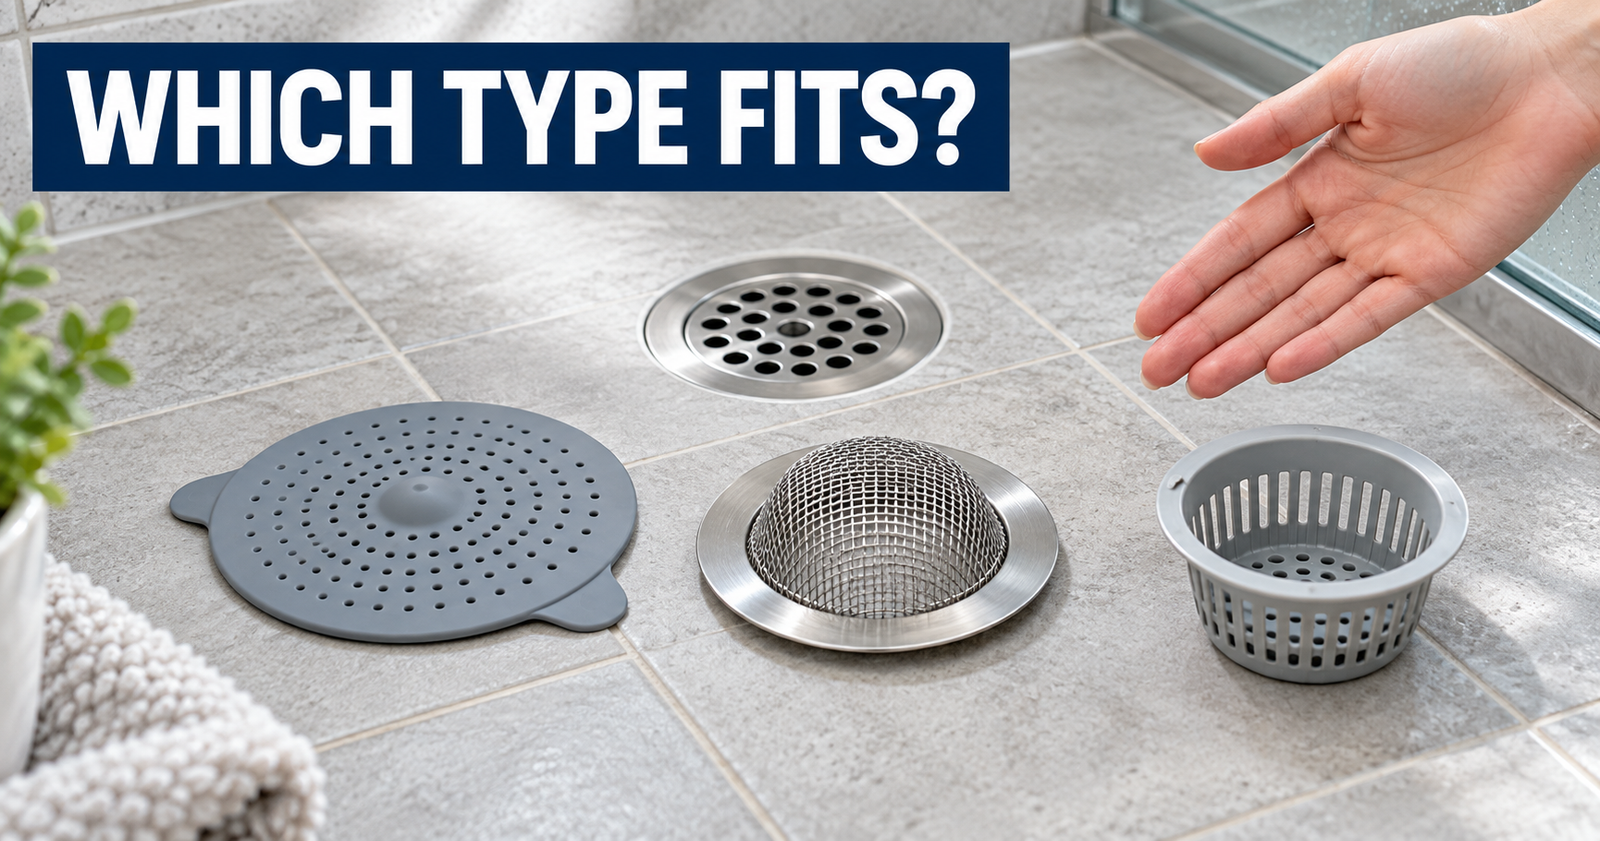
    1. Remove the drain cover and strainer.

    2. Bend the end of a wire coat hanger into a small hook shape and gently feed it down the drain.

    3. Pull upward to “fish” out the trapped hair and sludge.

    4. Wipe away the debris with a disposable glove or paper towel, and run a little water to test the drainage.

    Step 2: The Baking Soda & Vinegar Fizzy Clean

    If the water is still draining slowly after removing the hair, or if a musty odor is coming from the pipe, you need to break down the buildup of soap scum and body oils along the pipe walls.

     What you need: 1 cup of baking soda, 1 cup of white vinegar, 1 to 2 liters of hot water.

    How to do it:

    1. Pour the baking soda directly down the clogged drain.

    2. Slowly pour the white vinegar right after it. A chemical reaction will cause an instant fizzing foam, which helps dissolve grease and buildup.

    3. Let it sit and work its magic for 15 to 20 minutes.

    4. Slowly pour your hot water down the drain to flush away the loosened residue.

    Step 3: Use a Small Plunger or Drain Pump

    If you tried the first two steps and the water still refuses to budge, the clog is likely lodged deeper in the P-trap or pipe bend. At this point, you need to use pressure to force it through.

     What you need: A small cup plunger or a hand-held drain force pump.

     How to do it:

    1. Add a small amount of water to the shower floor around the drain to create a tight seal for the plunger.

    2. Center the rubber cup of the plunger squarely over the drain opening.

    3. Pump vigorously up and down 3 to 5 times.

    4. Listen for a popping sensation, and watch to see if the standing water rapidly drains away.

    💡 Pro-Tips to Prevent Future Clogs

     Use a Hair Catcher: Clearing accumulated hair after every few showers prevents up to 80% of clogs before they form.

    Weekly Hot Water Flush: Once a week, run hot tap water directly down the drain for a minute to prevent soap scum from solidifying inside the pipes.

  • How to Fix a Loose Kitchen Faucet in 5 Minutes (Simple DIY Guide)

    How to Fix a Loose Kitchen Faucet in 5 Minutes (Simple DIY Guide)

    Have you ever noticed your kitchen faucet wobbling every time you turn it on? It is one of the most annoying household issues, but calling a plumber for such a minor problem can cost you a lot of money.

    The good news? You don’t need a professional. With just a standard Allen wrench (hex key) and 5 minutes of your time, you can fix a loose faucet completely on your own.

    Here is a step-by-step beginner guide to tightening your kitchen faucet easily.

    What You Will Need

     An Allen wrench (Usually included when you bought the faucet, or a standard metric/imperial set)

     A flashlight or your smartphone light

     An old towel (to keep things dry under the sink)

    Step-by-Step Fix Guide

    Step 1: Clear Out the Under-Sink Space

    Before you start, clear out all the cleaning supplies and items stored under your sink. Lay down an old towel to catch any residual water or dropped screws.

    Step 2: Locate the Mounting Screw (Hex Screw)

    Get down with your flashlight and look underneath the base of the faucet. Most modern single-handle kitchen faucets are secured to the countertop using a small hex screw (set screw) located on the backside of the metal mounting collar or cylindrical base.

    Step 3: Tighten with the Allen Wrench

    Insert the correct size Allen wrench into the hex screw slot.

     Turn it clockwise to tighten.

     If the screw spins freely or feels loose, make sure the wrench is fully inserted into the socket.

     Tighten it firmly, but be careful not to strip the screw by applying excessive force.

    Step 4: Check and Test

    Once the screw is tightened, go back to the top and check the faucet handle and spout. It should no longer wobble or shake. Turn on the water to ensure everything flows smoothly without any leaks.

    Pro-Tip for Long-Term Maintenance

    If your faucet loosens up frequently due to heavy daily use, a tiny drop of thread-locking fluid (like blue Loctite) on the screw threads before tightening will keep it firmly in place for years.